Excel VBA Tutorial
Recording a Macro
The first step in the creation of a macro is to record one. When a macro is being recorded, Excel will store any action in the Excel window in the macro that you are creating. When you have completed all the actions that need to be recorded, you will stop recording. Now you can run this macro to repeat the recorded actions as necessary.
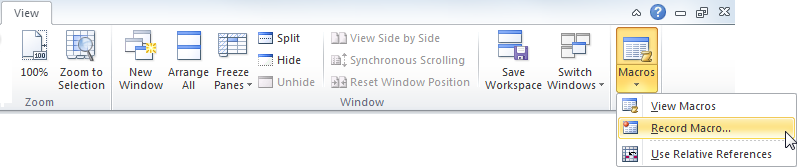
To record a macro, click View → Macros → Record Macro:
The Record Macro dialog should open:
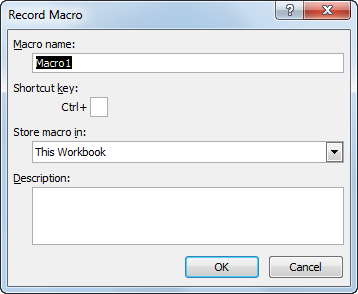
In this dialog, you can choose a name for the macro that you will be recording, where this new macro will be stored, and add a description of its actions to it. When you are ready to record a macro select the OK button. Once the OK button has been selected Excel will then record all of your actions inside the Excel window.
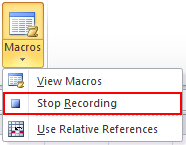
Once you have completed all of the actions that you need included in the macro, select the Macros drop-down command again, and click Stop Recording:
At this point the new macro will be complete.
Editing a Macro
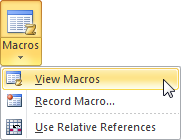
Once a macro has been recorded, you can edit it easily in Excel. First, click the Macros drop-down command, and then click View Macros:
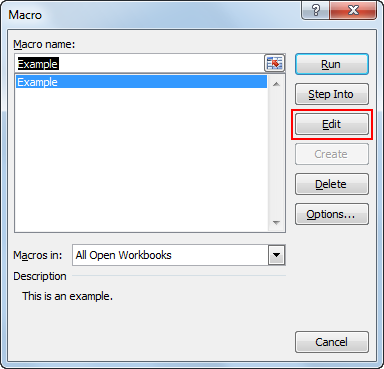
Then the Macro dialog should open:
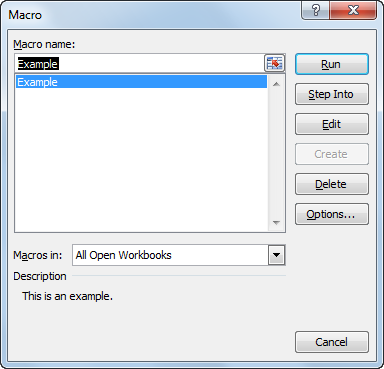
Select the macro that you would like to edit from the list and click the Edit command on the right:
Then the selected macro will open in Microsoft Visual Basic for Applications. We will cover how to work with this application later on in this section.
Changing a Macro
To change the name of a macro, use the following procedure.
- Select the View tab from the Ribbon.
- Select Macros.
- Select View Macros.
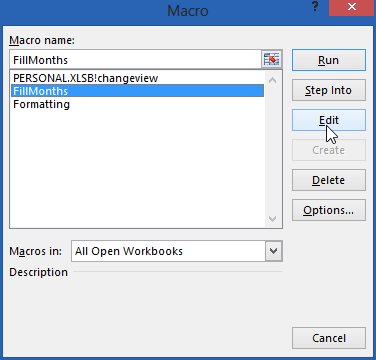
- In the Macro dialog box, select the name of the macro that you want to change. We'll use FillMonths for this example.
- Select Edit.
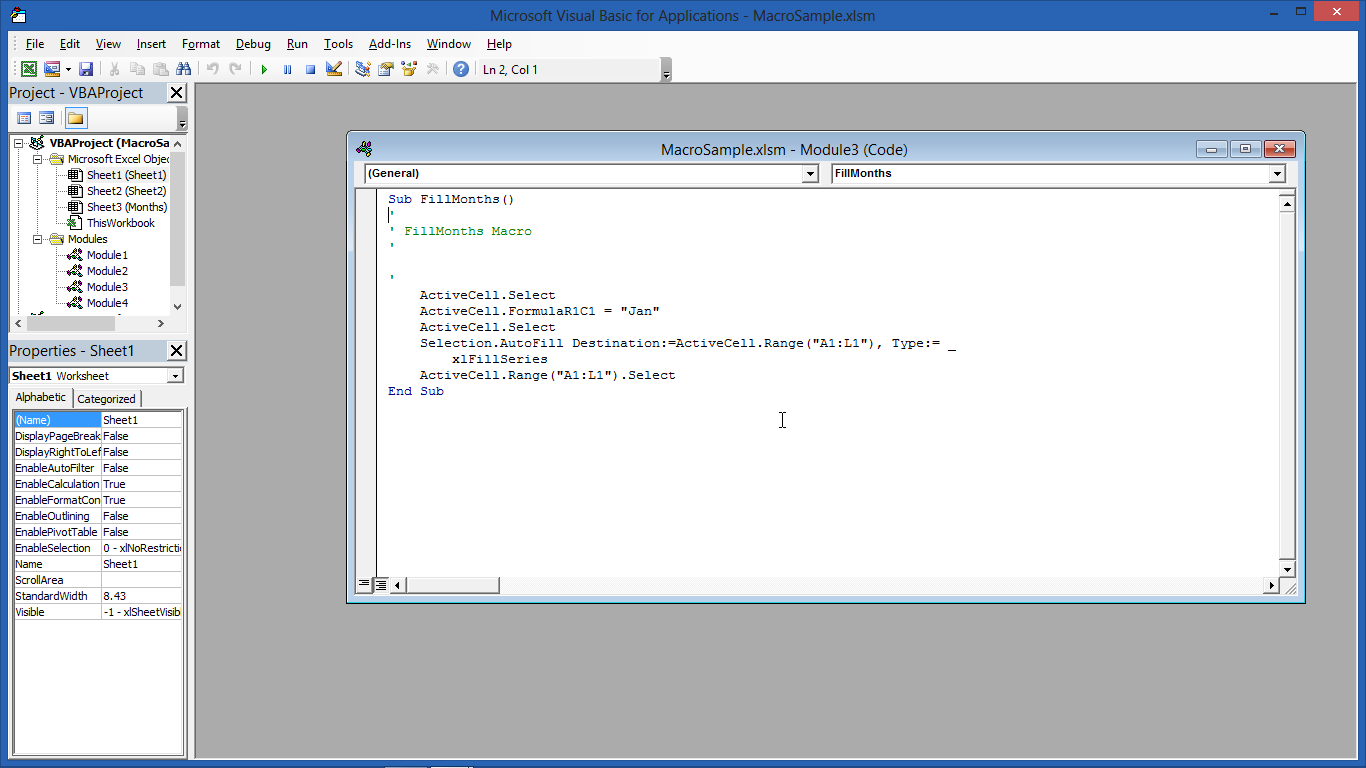
The Visual Basic Editor opens with your macro. The macro is a sub-routine in the programming. We'll make a copy of our FillMonths() macro, or subroutine, and change both of the new macros slightly.
First, we'll make a copy of the macro.
- Select everything from Sub FillMonths() to End Sub.
- Select Copy. (CTRL + C)
- Place your cursor below End Sub.
- Paste by pressing CTRL + V.

Now we are going to change the name of the first macro.
At the top of the first subroutine, enter an R next to FillMonths, to represent, fill months row. Remember that macro names cannot contain spaces. Now we are going to change the name of the second macro. Look for the line that divides the subroutines.
Enter a C next to FillMonths, to represent fill months column. Now we are going to change the second macro so that it fills down instead of across and it uses the number representation of the months instead of the names.
- In the following line, change “Jan “ to 1
ActiveCell.FormulaR1C1 = “Jan” The result should be
ActiveCell.FormulaR1C1 = 1
- Now change the range so that it is a column. You'll need to change "A1:L1" to "A1:A12" in two places.
Running a Macro
Once a macro has been recorded, you can run it at any time by clicking the Macros command directly on the View tab:

Selecting this will the launch the Macro dialog, in which you can choose the macro that you would like to run. After you have chosen a macro, click the Run button:
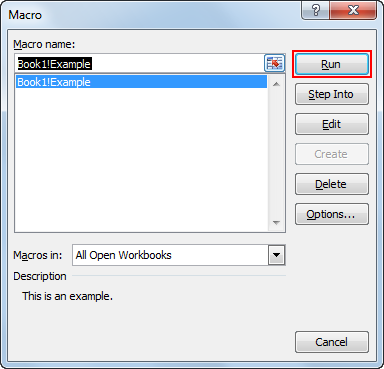
The selected macro will then complete the tasks that you have previously recorded. As you can see, this can greatly improve efficiency when working with long, repetitive tasks in Excel. With one click you can complete dozens of steps in just a few seconds!
Assigning a Macro to a Command Button
To assign a new macro to a command key, use the following procedure.
- Select the File tab from the Ribbon to open the Backstage view.
- Select the Options tab on the left.
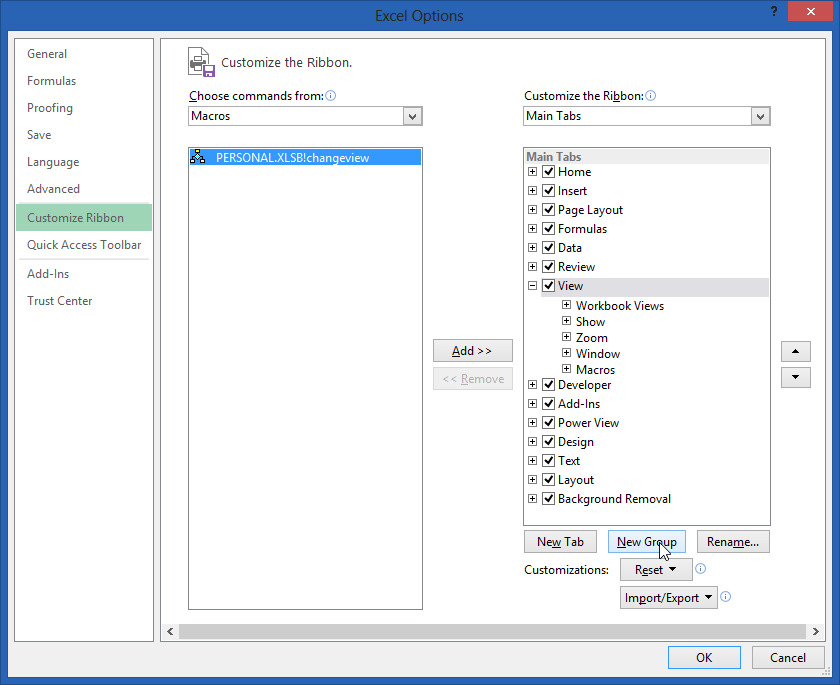
- Select Customize Ribbon.
- In the Choose commands from drop down list, select Macros.
You'll need to create a Custom Group on the Ribbon before you can assign a macro to a Ribbon tab.
- Select New Group.
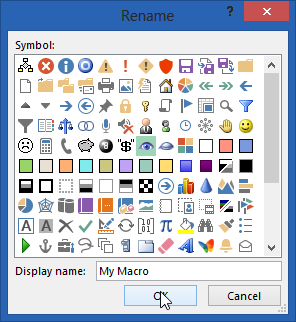
- Select Rename.
- Enter a new Display name.
- Select OK.
Now add the macro to the group.
- In the Customize the Ribbon list, select the ribbon where you would like to display the Macro command button.
- In the Choose Command from list, select your macro.
- Select Add.
- Select Rename.
- Select an icon for the macro from the list of Symbols.
- Select OK.
Now look at the selected Ribbon and see the macro command that you added.

Running a Macro by Clicking an Area of a Graphic Object
To assign a macro to a graphical object, use the following procedure.
- Insert a shape. To do this, select the Insert tab from the Ribbon. Select Shapes. Select the shape you want to insert.
- Right-click on the shape.
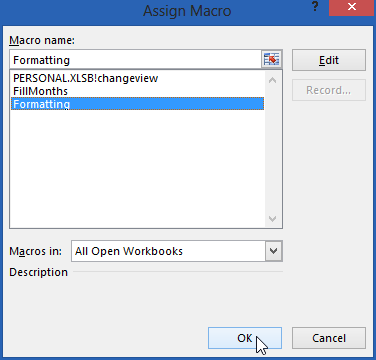
- Select Assign Macro from the context menu.
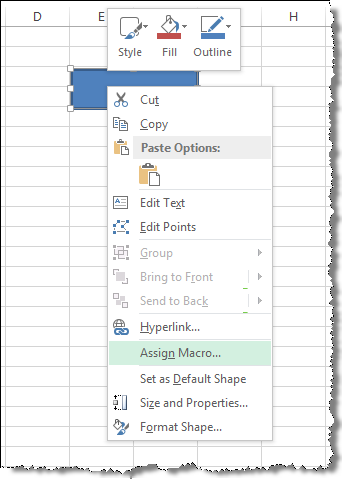
- Select the Macro name from the list. You can choose the location where the Macro is stored by selecting a new option from the Macros in drop down list.
- Select OK.
Now try running the macro by clicking on the object.
You can format the shape in any way desired.
Configuring a Macro to Run Automatically Upon Opening the Workbook
To create an Auto_Open macro, use the following procedure.
- Select the View tab from the Ribbon.
- Select Macros.
- Select Record Macro.
- In the Macro name box, enter Auto_Open as the name.
- In the Store macro in list, select the workbook where you want to store the macro from the drop down list.
- Select OK.
- Perform the actions that you want the macro to perform. For a simple example, simply select Zoom to Selection from the View tab.
- Select Macros from the View tab. Select Stop Recording.
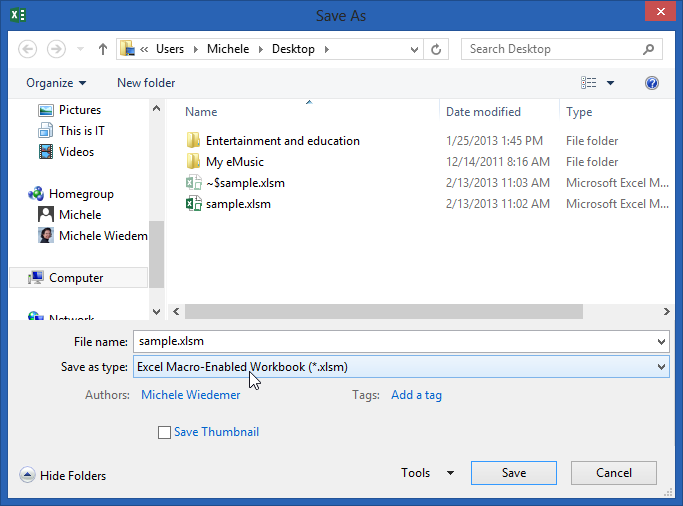
- Save the workbook. You will need to select Excel macro-Enabled Workbook (*.xlsm) from the Save as type drop down list.
To test out your auto macro, close the workbook and reopen it. The macro is performed as soon as you open the workbook.
Recording an Auto_Open macro has the following limitations:
- If the workbook where you save the Auto_Open macro already contains a VBA procedure in its Open event, the VBA procedure for the Open event will override all actions in the Auto_Open macro.
- An Auto_Open macro is ignored when a workbook is opened programmatically by using the Open method.
- An Auto_Open macro runs before any other workbooks open. Therefore, if you record actions that you want Excel to perform on the default Book1 workbook or on a workbook that is loaded from the XLStart folder, the Auto_Open macro will fail when you restart Excel, because the macro runs before the default and startup workbooks open.
To start a workbook without running an Auto_Open macro, hold down the SHIFT key when you start Excel.
See all Seven Institute Excel training Options