Excel for Assistants Tutorial
What is a Table?
A table is a specially designated range of information that has added functionality that other cell ranges do not have. You can have multiple tables per worksheet, and tables can be as large or small as the amount of data you want to work with. We have already seen some worksheets that use tables, such as the personal budget template. In fact, this worksheet is composed almost entirely of tables:
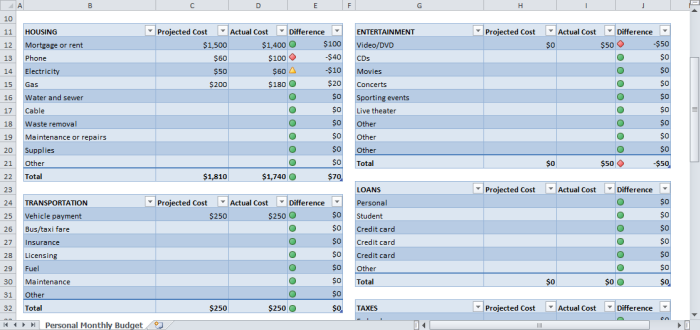
A table is made from adjacent columns of data, with a unique label or heading for each column. Each row in the table should have entries organized according to the column headings. Remember, each worksheet has a lot more rows than columns. This design is well suited for data organized in long, adjacent, list-like columns. You can make a table with empty rows or columns if required, but this is not recommended.
Creating Tables
Tables are made in one of two ways: by selecting and converting existing data, or by creating a blank table and filling in the information as required. In addition, tables can only be created from adjacent data.
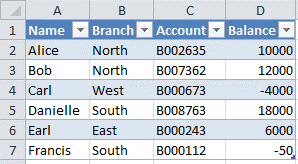
Let's start by looking at how to mark existing data as a table. Consider the following well-defined data:
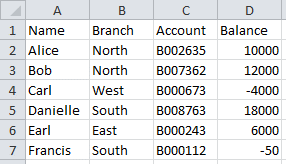
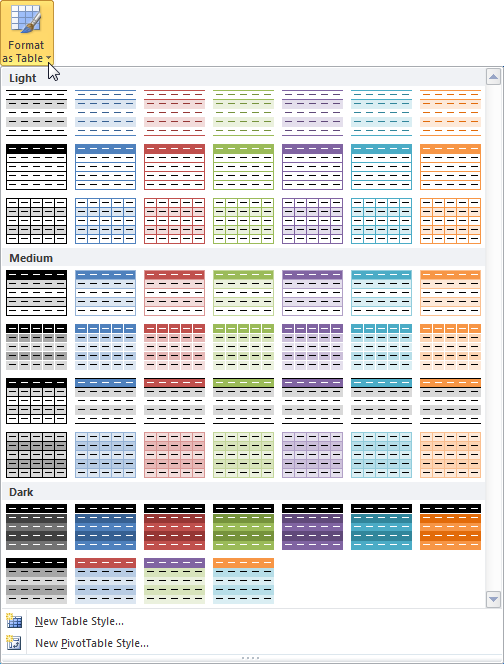
To create a table using existing data, select all data and column headings and then click Home → Format as Table → choose a table style:
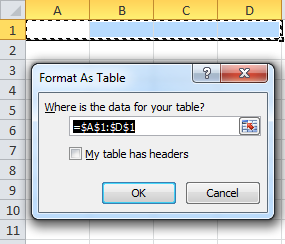
The Format As Table dialog box will appear and include the selected range of cells. Note the absolute cell references:
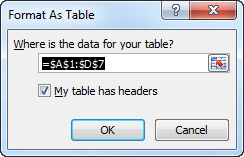
By default, "My table has headers" is checked whenever you select more than two rows of data. Make sure the cell range shown is correct and then click the OK button to create the table:
To create a table from scratch, click and drag the number of cells you will need in your table and then click Format As Table:
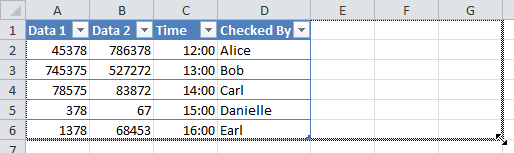
Click OK to apply the table. The first row will contain column headings and the second row is ready to accept new data:

If you know what your column names need to be but don't yet have any data, select the column names and the next row down before clicking Format As Table:


Modifying Tables
Although we recommend thinking a bit about a table before adding one, the design is by no means set in stone. You can modify anything you like regarding a table by using right-click commands, the Table Tools contextual tab, and by physically modifying the table.
If you examine your table closely, you will see a small blue handle in the bottom right-hand corner:
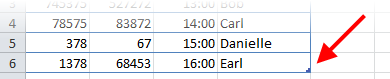
Point to this blue arrow and your mouse will turn into a double-headed arrow. Click and drag this handle to change the size of your table, either horizontally or vertically, but not both:
If you drag horizontally, your table will include new columns. Rename these new columns as you see fit.
If you drag vertically, your table will include new rows. (Note that this can also be achieved by pressing Enter in the last row of your table.) Add data as desired.
Click any cell in your table to show the Table Tools contextual tab. This tab contains everything you need to modify the look and functionality of your table:
We’ll cover these command groups in a moment.
Lastly, you can use the right-click button to quickly modify different aspects of the table. We will explore these concepts later in this lesson and through the rest of this section:
See all Seven Institute Excel training Options